Give your pouch a shape of its own.
Die-cut Mylar-style pouches can pair expressive artwork with a zipper, tear notch and a matching printed paper box. Start with your product and target fill, then confirm the structure with a sample.
Discuss your design →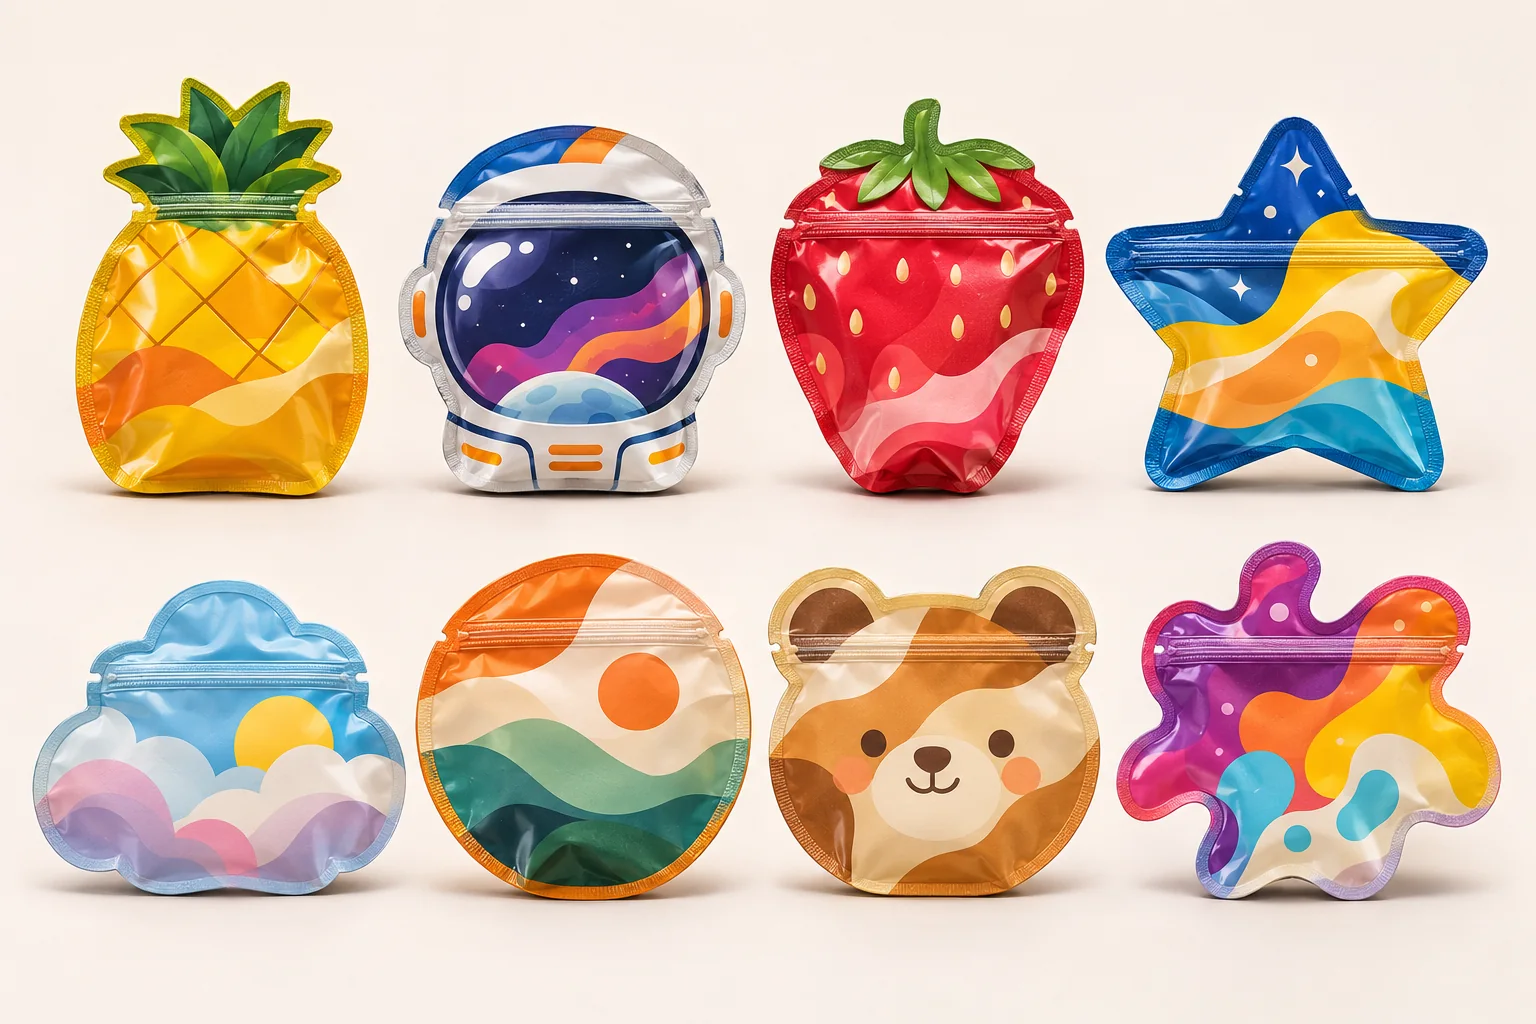
Choose the silhouette, then build the pouch.
The supplied references cover die-cut shapes, flat sachets, stand-up pouches and zipper bags. A 3.5 g fill is a project target, not a fixed pouch dimension: product density and desired headspace determine the final size.
Custom die-cut outline
Develop a distinctive contour around the artwork while leaving room for seals, the opening and usable volume.
Closure and base
Discuss a resealable zipper, tear notch, heat-seal area and bottom gusset when the format needs to stand.
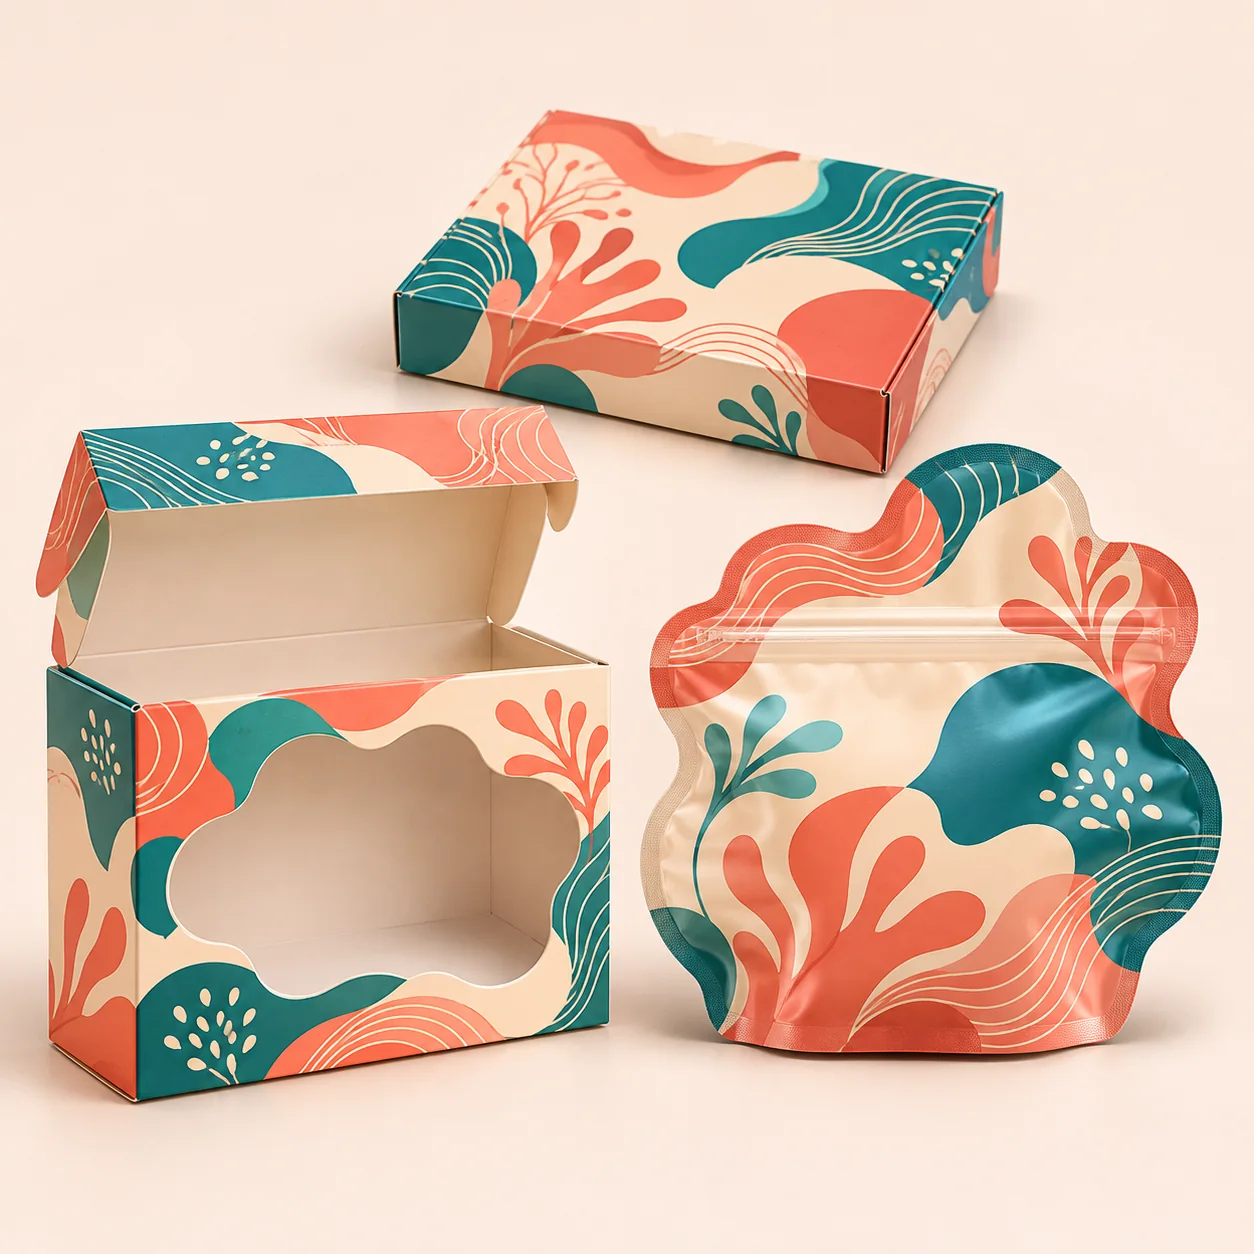
Matching box set
Add a coordinated folding carton, window box or display pack sized to the finished pouch.
The pictured shapes are illustrative. Die tooling, zipper placement, usable volume and carton fit require approval on a physical sample.
A pouch and box that belong together.
Carry the same print palette across an inner pouch and outer carton. The outer box can add a retail presentation or a display surface while the inner pouch provides the chosen closure.
A window, interior print or bottom print may be possible depending on the structure. Send the intended fill, sales channel and artwork to confirm a workable dieline and print plan.
Specify the layers and finish for the contents.
A flexible pouch can combine an outer print layer, a barrier layer and an inner heat-seal layer. The exact film composition and thickness depend on the contents, shelf-life brief, required barrier performance and local requirements.
1 · Print surface
Full-color artwork with a matte, gloss, metallic or holographic look; ask which finish is available for the chosen film.
2 · Barrier structure
Select and test a laminate for the product's moisture, oxygen and aroma-control needs.
3 · Seal and closure
Confirm heat-seal performance, zipper style, opening area and compatibility with the filled product.
Spot UV, foil, soft-touch, window panels and interior printing are additional design directions, subject to feasibility and sample approval.
“Smell proof,” food contact, recyclability and child resistance are performance or compliance claims. Request specifications and test documentation for the exact material, closure, contents and destination before using those claims.
Check the print inside and out.
For irregular shapes, the outer cut line and seal area need to work together with the artwork. If you want artwork on the inside face, ask for a material and ink plan for the intended contents before approving the sample.
Artwork & dieline
Share vector artwork and the preferred silhouette, or ask us to discuss a custom dieline.
Physical sample
Review print color, seal width, zipper operation and pouch-to-box fit before production.
Timing & delivery
Sample timing, production lead time and shipping route are confirmed with the final specifications and destination.
Send the pouch and box brief.
Tell us your product type, target fill (such as 3.5 g), approximate dimensions, preferred shape, zipper and barrier requirements, box style, artwork, quantity and destination. We can then discuss samples and a tailored quote.